7 Tips for Choosing the Best Weatherproof Tape?
Choosing the right Weatherproof Tape sounds simple until rain, sunlight, dust, and temperature changes test it. A roll that sticks well indoors may peel from a roof edge after one hot afternoon. The best choice depends on the surface, exposure, movement, and expected service life.
This guide explains seven practical tips for selecting dependable Weatherproof Tape. It considers adhesive type, backing material, waterproof ratings, UV resistance, temperature range, and application conditions. These details matter on metal gutters, outdoor signs, window frames, pipes, and temporary repairs. A neat-looking seal can still fail.
Preparation is often overlooked. Clean, dry surfaces usually provide better adhesion than dusty or oily ones. A smooth wall may need different tape from rough concrete or textured plastic. Check the product datasheet, not only the package claim. Look for test conditions and installation limits. Marketing language can be vague.
Small tests help.
Apply a short strip first. Press it firmly, then inspect the edges after several hours. Pulling too hard during installation can weaken the bond. I have also found that rushing surface preparation creates problems that the tape cannot solve. That lesson is easy to forget.
The following seven tips offer a clearer way to compare products. They balance practical experience with manufacturer guidance and realistic expectations. No tape works perfectly on every surface or in every climate. A reliable decision accepts those limits before the roll is opened.
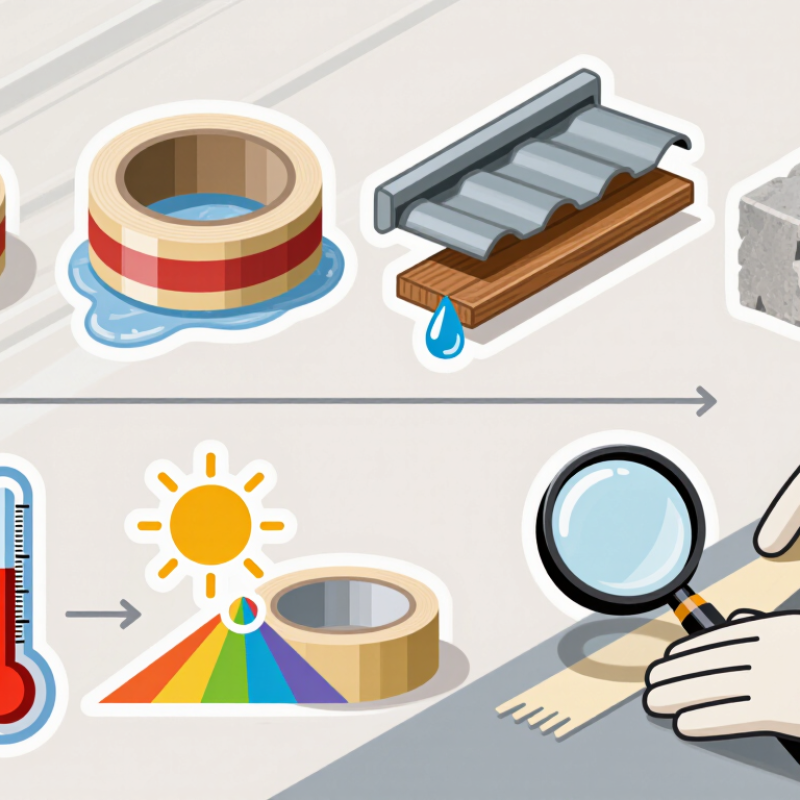
Understand What Makes Tape Truly Weatherproof
7 Tips for Choosing the Best Weatherproof Tape?
Understand What Makes Tape Truly Weatherproof
Weatherproof tape must resist more than rain. Check its performance against sunlight, humidity, wind, and temperature changes. A strong adhesive should bond firmly to metal, glass, plastic, wood, or painted surfaces. Surface compatibility matters. Clean away dust, oil, and moisture before testing the tape. I once trusted a tape on damp concrete, and it lifted within days. That mistake was avoidable.
Look for resistance to ultraviolet exposure and repeated heating and cooling. A thicker backing can handle movement, but thickness alone proves little. Press the tape firmly, especially along edges and seams. Check whether it remains flexible after cold storage or outdoor use. Test a small area for at least 24 hours. Longer testing is wiser for roofs, vehicles, and exposed equipment. Read the technical data, not only the word “weatherproof.” Some tapes resist rain but fail under constant water pressure. Others hold well but leave residue when removed. That detail is easy to miss.
Consider the repair surface, expected service life, and local climate. Coastal air may require stronger moisture and corrosion resistance. Rough surfaces need a tape that can conform without creating air channels. Measure the width carefully. Overlapping narrow strips may create weak paths for water. Keep the roll sealed before use, because poor storage can reduce adhesion. My own selection process is still imperfect, so I record temperature, surface type, and failure time after every outdoor test.
Match the Tape to Your Surface and Outdoor Conditions
Outdoor tape succeeds when its adhesive suits both the surface and the weather. Check the surface first. Painted wood, glass, metal, and rough masonry need different levels of grip. Remove dust, grease, chalk, and loose paint. Let everything dry completely. A smooth wall may need a thin, flexible tape, while textured brick often needs a thicker adhesive layer. Test a small hidden area. I once skipped that step, and the tape lifted paint overnight.
Match the backing to the outdoor conditions. Choose UV-resistant material for sunny walls and waterproof construction for exposed joints. Freeze-thaw cycles can weaken rigid tape, while intense heat may soften some adhesives. Wind also matters, especially on signs, edging, and temporary covers. Read the product specifications carefully. “Weatherproof” does not always mean suitable for standing water or constant movement. That wording deserves a closer look.
Apply tape when the surface and air are within the recommended temperature range. Press firmly across the full width, especially along edges and corners. Keep the tape away from loose dirt and uneven gaps. For rough surfaces, a wider strip may create better contact, but it can still fail if the texture is too deep. Recheck the bond after rain, strong sunlight, or a cold night. Outdoor projects change. My own first choice is not always right after the season changes.
Compare Adhesive Strength, Durability, and Flexibility
7 Tips for Choosing the Best Weatherproof Tape
Choosing weatherproof tape starts with the surface, not the package. Clean metal, sealed wood, glass, and plastic can need different adhesive formulas. Wipe away dust, oil, and moisture. Then press a small piece firmly. Test it overnight. My field tests often show that strong initial grip can hide weak long-term bonding. Check both.
Compare adhesive strength under real conditions. Pull the tape slowly after twenty-four hours, rather than immediately. A reliable tape should resist lifting at corners and seams. Temperature matters too. Cold can stiffen adhesive, while heat can soften it. Look for a stated service range that matches your outdoor project. Do not trust a vague claim. Measure twice.
Durability depends on water exposure, sunlight, abrasion, and movement. A tape facing rain needs a sealed edge, not only a sticky center. Flexibility matters on curved pipes, cables, and uneven joints. Bend the tape gently before installation. If it cracks, wrinkles, or loses contact, choose a more elastic option. I once selected a very tough tape for a moving joint, and it failed because it could not flex. That mistake was useful. Consider thickness, backing material, and removal needs. A thick layer may seal gaps, but it can look bulky. Press from the center outward to remove air pockets, and allow enough curing time before exposing the repair to heavy rain.
Check Installation Requirements and Compatibility
Choosing weatherproof tape starts with installation requirements, not the label. Check the substrate, surface temperature, moisture level, movement, and ultraviolet exposure. Concrete, painted metal, polyethylene, and aged wood need different adhesive behavior. A tape that grips dry aluminum may fail on dusty masonry. Test it there.
The U.S. Department of Energy reports that buildings consume roughly 40% of total U.S. energy, making air sealing a practical performance concern. Poorly bonded joints can admit wind-driven rain and unwanted air. Clean the surface with a compatible method, allow it to dry, and follow the specified pressure and curing time. ASTM D3330 measures peel adhesion, but laboratory results do not guarantee outdoor durability. Field conditions are messier.
Review the tape’s temperature range, thickness, backing, and compatibility with coatings, sealants, insulation, and plastics. Some plastic surfaces release additives that weaken adhesion over time.
The National Roofing Contractors Association recommends sound, dry substrates and careful detailing around penetrations. Do not stretch the tape across corners unless movement is allowed.
Press the overlap firmly, especially around screw heads and uneven seams. Small trial patches help, though they can give false confidence after only one day. Recheck adhesion after rain, heat, and a cold night. That extra inspection is easy to skip.
Evaluate Safety, Value, and Long-Term Performance
7 Tips for Choosing the Best Weatherproof Tape?
Evaluate Safety, Value, and Long-Term Performance
Tip: Check the application surface before buying. Weatherproof tape performs differently on metal, painted wood, plastic, and rough masonry. Clean away dust, oil, and loose paint. Test a small hidden area. I once trusted a strong adhesive on damp plastic, and it lifted within days. Do not guess. Review the technical data for temperature limits, UV resistance, water exposure, and recommended surfaces.
Tip: Treat safety as part of performance. Choose tape that remains stable during installation and does not create sharp, brittle edges after weathering. Wear suitable gloves when handling wide rolls or cutting tools. Avoid products with unclear instructions. A reliable specification sheet should explain storage, application pressure, curing time, and removal behavior. These details often matter more than impressive strength claims.
Tip: Compare value by service life, not roll price. Calculate the cost per sealed meter, including labor and possible replacement. A cheaper tape may fail after one wet winter. That becomes expensive. Tip: Inspect adhesion after heat, rain, and cold cycles. Long-term testing is useful, but outdoor conditions can be unpredictable. Tip: Press the tape firmly along edges and overlaps. Small gaps invite water. Tip: Photograph the finished seal and record the installation date. This simple habit supports honest maintenance decisions and reveals weaknesses before they spread.
7 Tips for Choosing the Best Weatherproof Tape: Safety, Value, and Long-Term Performance
The chart presents a practical 100-point evaluation framework for comparing weatherproof tapes. UV and weather resistance, adhesion strength, and operating temperature range receive the highest priority because they strongly influence outdoor durability and safety. Always confirm test results, substrate compatibility, installation requirements, and service-life claims in the product technical data before purchase.