Best Car Stereo Installation Tips for Beginners?
When it comes to car stereo installation, many beginners often feel overwhelmed. Yet, the right tips can make the process smoother. Mark Jensen, a renowned car audio expert, once said, "A great sound system transforms any drive into a joyful experience." This highlights the importance of a quality installation.
Understanding the fundamentals is vital. First, gather the necessary tools. Make sure you have a wiring harness, dash kit, and basic hand tools. Following a guide can prevent common mistakes that lead to frustration. Pay close attention to speaker wiring and connections. Incorrect setups can result in poor sound quality or even damage.
Start small if you're new. Consider a simple upgrade, like replacing speakers before tackling a full stereo system. Often, beginners rush into complex installations and miss crucial steps. Learn from these experiences. Reflect on what works and what doesn’t. Each attempt builds your skills, creating a more enjoyable car stereo installation journey.
Essential Tools Needed for Car Stereo Installation
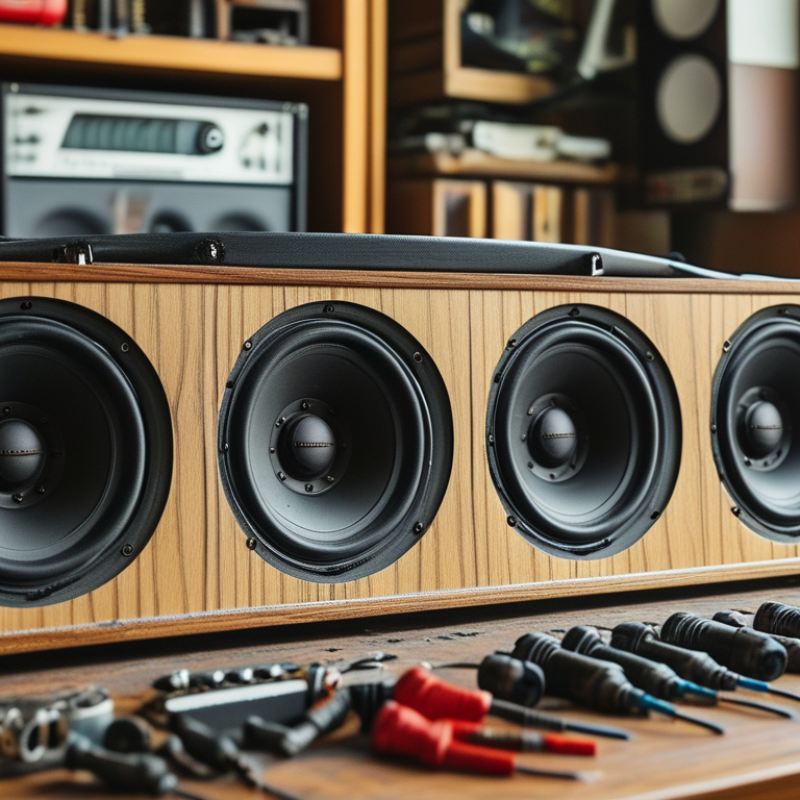
When planning a car stereo installation, it's essential to gather the right tools. A basic toolkit is a good start. You'll need a flathead and Phillips screwdriver for removing panels and screws. Pliers can help with gripping and bending wires, making your job easier. Wire strippers are also crucial for safely preparing wires for connections. Without these tools, your installation may become frustrating.
Measuring tools are important, too. A multimeter allows you to check voltage and ensure proper connections. A ruler or tape measure can help you fit your stereo into the existing space without issues. Installing a car stereo can be complicated, and making miscalculations can lead to problems. Some might not realize they lack certain tools until they're deep into the process. This can lead to delays and unexpected trips to the store.
It's important to remember safety throughout the installation. Use gloves when handling sharp metal edges. A well-lit area will help you see better as you work. Take your time and double-check connections. Rushing can lead to mistakes. Reflecting on your experience might improve your skills for future installations. Each project teaches valuable lessons, even if the results aren't perfect at first.
Best Car Stereo Installation Tips for Beginners
| Tool |
Purpose |
Tips |
| Screwdriver Set |
To remove and install screws on the stereo unit. |
Use a magnetic screwdriver to prevent dropping screws. |
| Wire Stripper |
For stripping insulation from wires for connections. |
Select the correct gauge to avoid damaging wires. |
| Heat Shrink Tubing |
To insulate soldered wire connections. |
Always use with a heat gun for secure insulation. |
| Soldering Iron |
For joining wires together securely. |
Keep the tip clean for effective soldering. |
| Multimeter |
To test electrical connections and voltages. |
Check continuity before making connections. |
| Panel Removal Tool |
To safely remove dash panels without damage. |
Pry gently to avoid cracking plastic clips. |
Step-by-Step Guide to Removing Your Old Car Stereo
Removing your old car stereo can seem daunting, but with a clear plan, it’s very manageable. Start by gathering tools like a flathead screwdriver and a wire cutter. You should also have safety glasses on hand. Before you begin, ensure the car is turned off to avoid any electrical mishaps. Often, car stereos are held in place by screws or clips that are easy to overlook. Stay patient as you search for them.
Once you've located the screws, carefully remove them. It's essential to keep them in a safe spot. If your stereo has a faceplate, you might need to detach it too. Gently pull the stereo out of the dashboard. You may encounter resistance; applying too much force can damage the dashboard. If you're unsure, consult your car's manual for specific instructions on your make and model.
Next, disconnect the wiring harness. This is generally the most critical step. Be cautious not to tug on the wires; doing so might cause damage. Take note of how everything connects, as this will help when installing the new stereo. Sometimes the connections can be tough to see. Reflect on your approach, and don’t hesitate to take breaks if you feel overwhelmed. Remember, it’s a learning process.
Wiring and Connecting the New Car Stereo Correctly
Wiring your new car stereo can seem daunting at first. Understanding the process is crucial for a successful installation. Start by disconnecting the battery to avoid any electrical issues. Gather necessary tools: wire strippers, connectors, and a multimeter for testing. Familiarize yourself with the wiring harness, as mismatched wires can lead to malfunctions.
When connecting the wires, pay attention to color coding. This provides guidance on which wires correspond to speakers, power, and ground. Inexperienced installers often overlook this detail. A mistake can result in poor audio quality or complete failure of the stereo. Taking your time during this step is essential.
Testing your connections is a vital part of the process. Before fully reassembling everything, reconnect the battery and turn on the stereo. Listen for any distortion or irregularities in sound. If issues arise, review your connections for errors. Reflecting on your mistakes will help improve your skills for future installations. Don't rush through the process; it’s about learning and ensuring a great audio experience.
Tips for Securing and Testing Your New Stereo System
Testing your new car stereo system is crucial for a successful installation. After securing your system physically, take time to check all connections. Ensure the wires are tightly connected and not loose. A common mistake is overlooking the ground connection. If it's not secure, you may run into audio issues or intermittent problems.
Once secured, power on the system to test it. Listen for any distortion or gaps in sound. Adjust the settings to see how different levels affect audio quality. It’s important to test various audio sources, such as radio, Bluetooth, or USB. If any source doesn’t perform well, it might require troubleshooting.
Remember, it’s okay if everything doesn’t work perfectly at first. Learning from the process is part of the experience. Revisit connections as needed and troubleshoot issues to enhance your understanding. Each small adjustment can lead to significant improvements in sound quality.
Common Mistakes to Avoid During Installation Process
Installing a car stereo can be a great DIY project. However, many beginners make common mistakes. One frequent error is not reading the instructions carefully. Skipping this step can lead to mishaps. Make sure to understand the wiring diagrams. A simple mistake can result in damage to your vehicle or the stereo itself.
Another mistake is not gathering the right tools. Many assume they can wing it with whatever is at hand. An improper tool can lead to stripped screws or damaged panels. Using the right tools creates a smoother experience and ensures quality results.
Additionally, beginners often overlook the importance of securing connections. A loose wire can cause malfunctions later. It's crucial to use quality connectors and check all wiring before final assembly. Neglecting this step can waste time and resources later on. Embrace the learning process and be prepared to make adjustments along the way.